GIRAFVINYL Blue Holographic Vinyl Permanent Vinyl Sheets 12" X 12" 6 Adhesive Vinyl Sheets for Cricut, DIY Tumbler and Home Decoration
Brand: GIRAFVINYL
Color: Blue Pack 01
Features:
- PREMIUM ADHESIVE BACKING AND LINER guarantee that it's not just that the backing and vinyl are not separated before using, it will also be smooth and convenience when weeding,no more endure a frustrating weeding process .
- EASY TO WORK WITH which means that you can use cricut、Silhouette & Cameo、even scissors and knife,thae professionals, non-professionals, the elderly, and children can participate and enjoy it.
- PERFECT DISPLAY ABILITY ,GIRAFVINYL craft vinyl has a high quality due to the high technology ,which means that the vinyl is coloful 、waterproof、and no fade,at the sometime,it is easy to cut ,easy to weed ,easy to transfer and stick firmly.Please refer to the actual product as the standard.
- THE BEST CHOICE FOR SPECIAL DIY GIFT ,GIRAFVINYL vinyl with the high quality and perfect performance,which color you choose is will the right & beautiful ,it will the right color you want,and it is so easy to work with,using GIRAFVINYL vinyl ,you will find the adhesive craft vinyl fun.
- SERVICE GUARANTEE - Any problems with the products received, or problems encountered during use, can be contacted at any time. We will do our best to help you solve it.
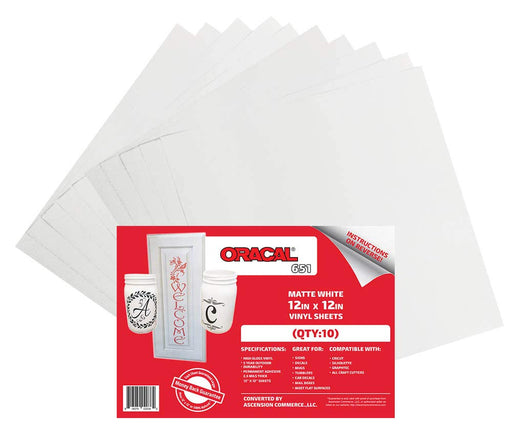
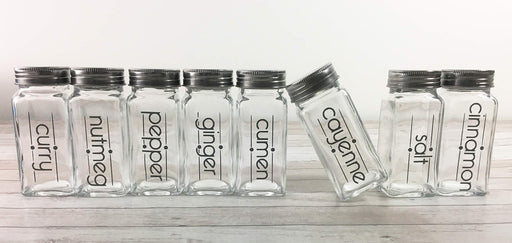
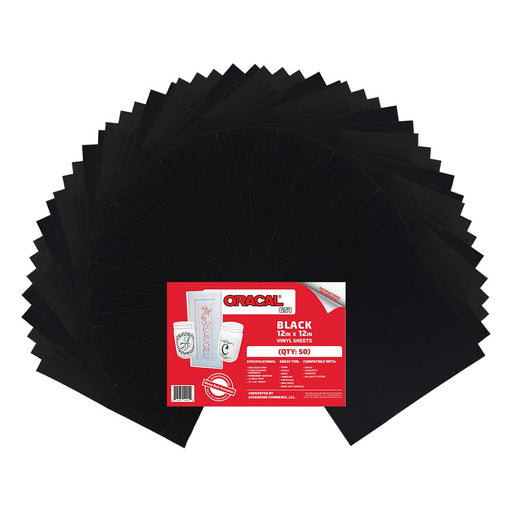
Details: Holographic Blue & Green Adhesive Precut Vinyl Sheets → 12in. x 12in. (30 x 30cm) per sheets → Set 1-2 degree blade depth we tested. → Recommend to use with adhesive cutting mat/weeding tools/transfer paper for help(EXCLUDED IN PACKAGE) → Just recommend to use for clean/dry/flat/no texture surface. → Ideal for hand craft, home decor, signs, banners, wall decals, window decals, scrapbooking decoration. → Compatible with most of cuting machines such as craft cutters, die cutters, sign plotters for art, craft and hobby use. How to Do It 1. Clean Surface - prepare your target surface clean and dry, the smoother the surface the easier to transfer the vinyl. 2. Design with cutter - put on a cutting mat that has a sticky back and kiss-cut the design by cutting machines. 3. Weeding the excess vinyl - leave the letters/graphics on the sheet with weeding tools. 4. Apply the transfer paper - gently put a transfer paper on the surface of the cut vinyl. Use a scraper over the design and make sure the transfer tape is adhering to the vinyl nice and tight. 5. Adhere it to the new clean and dry flat surface - slowly work with delicate patterns. 6. Remove Transfer paper - rub the clear tape from the center out to adhere the vinyl securely. Notice: A TEST CUT IS ALWAYS RECOMMENDED. NOT heat transfer vinyl/NOT printable vinyl/NOT work with inkjet or laser printers. Please note that colors appear slightly different on computer monitors.